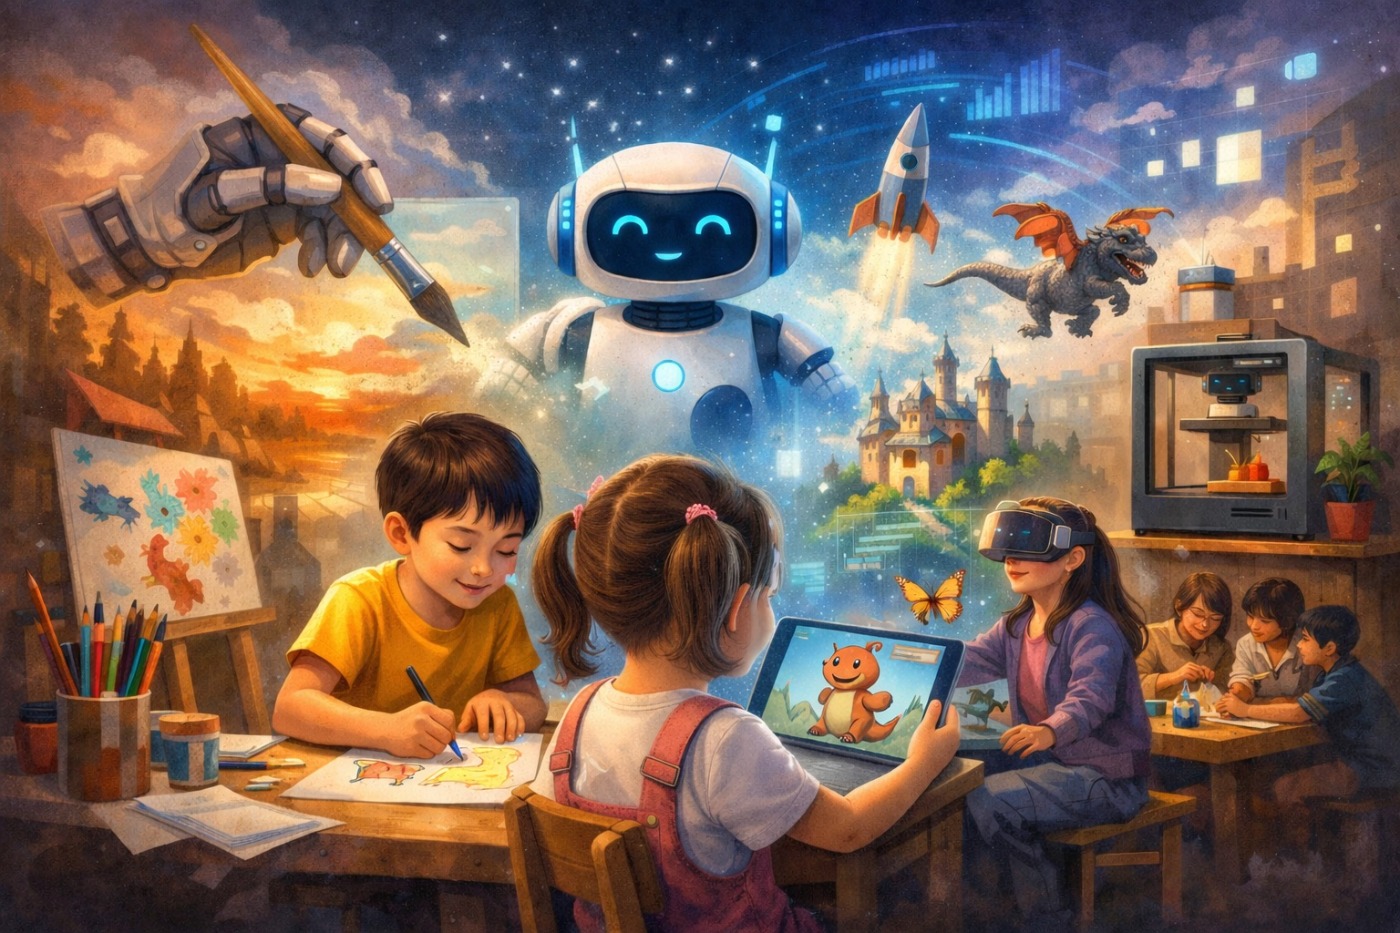
In the AI era, is children’s creativity really at risk?
“If AI can generate images for us, do kids still need to draw?”
“Won’t using AI actually shrink a child’s imagination?”
These questions matter. Creativity doesn’t fade “because of AI”—it fades when we
use AI in a way that skips the child’s thinking.
This guide introduces a classroom-ready flow that begins with
one child-made drawing and naturally expands into
style · story · 3D · AR · real-world making · collaboration.
1. Why creativity can be at risk in the AI era
Creativity isn’t the ability to produce lots of finished results.
It’s the strength that grows through repeating:
think → choose → try → revise → finish.
But if AI is used the wrong way, that whole process can get skipped in one click.
- When AI presents a “perfect-looking answer” before the child has time to think
- When a button replaces explaining, extending, or exploring the drawing
- When the child loses the chance to say, “Why I made it this way”

What’s at risk isn’t drawing skill.
It’s the child’s ability to think, choose, and grow creative judgment.
2. The most important question: “Are we using AI as a tool?”
Just as pencils and paint don’t “replace creativity,” AI shouldn’t replace it either.
Great art lessons always begin with a question.
- “What story moment could this drawing be?”
- “What should this character do next?”
- “If this existed in real space, where would it belong?”
Artkery isn’t designed to “make the result for kids.”
It’s designed to help a child’s thinking move to the next step.
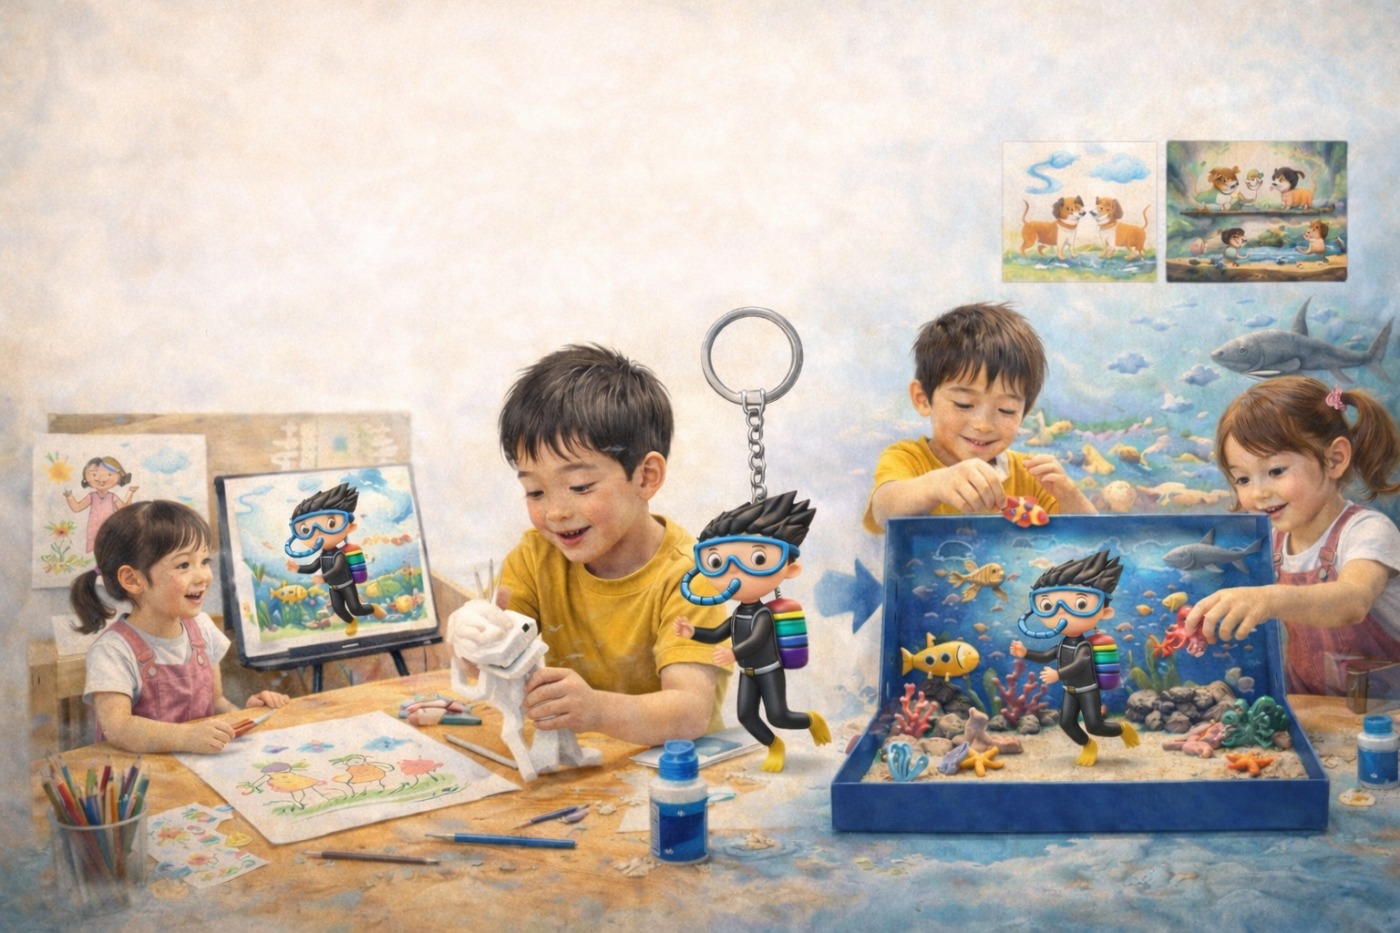
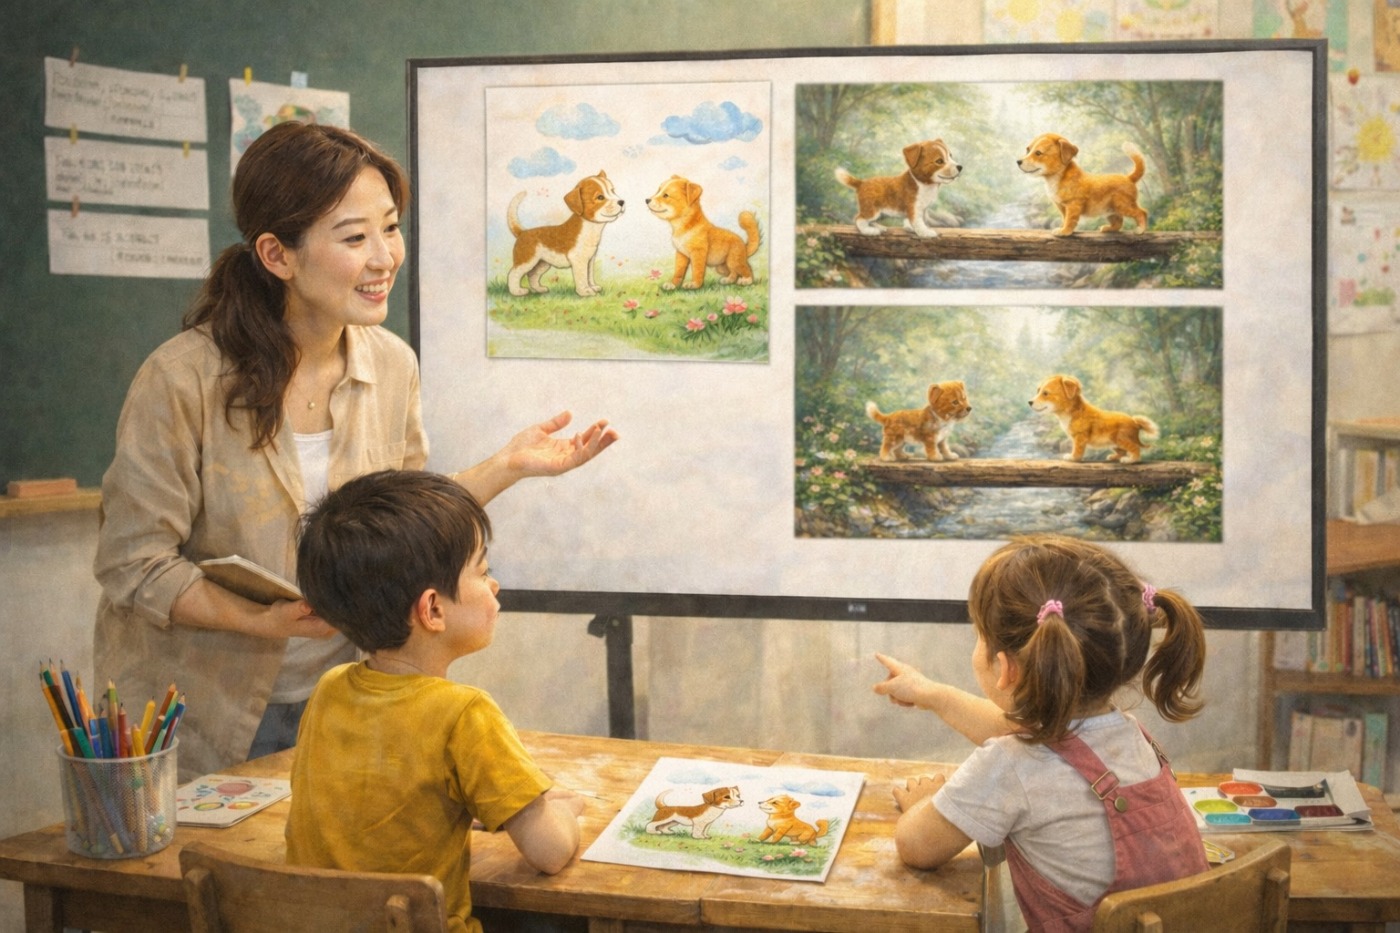
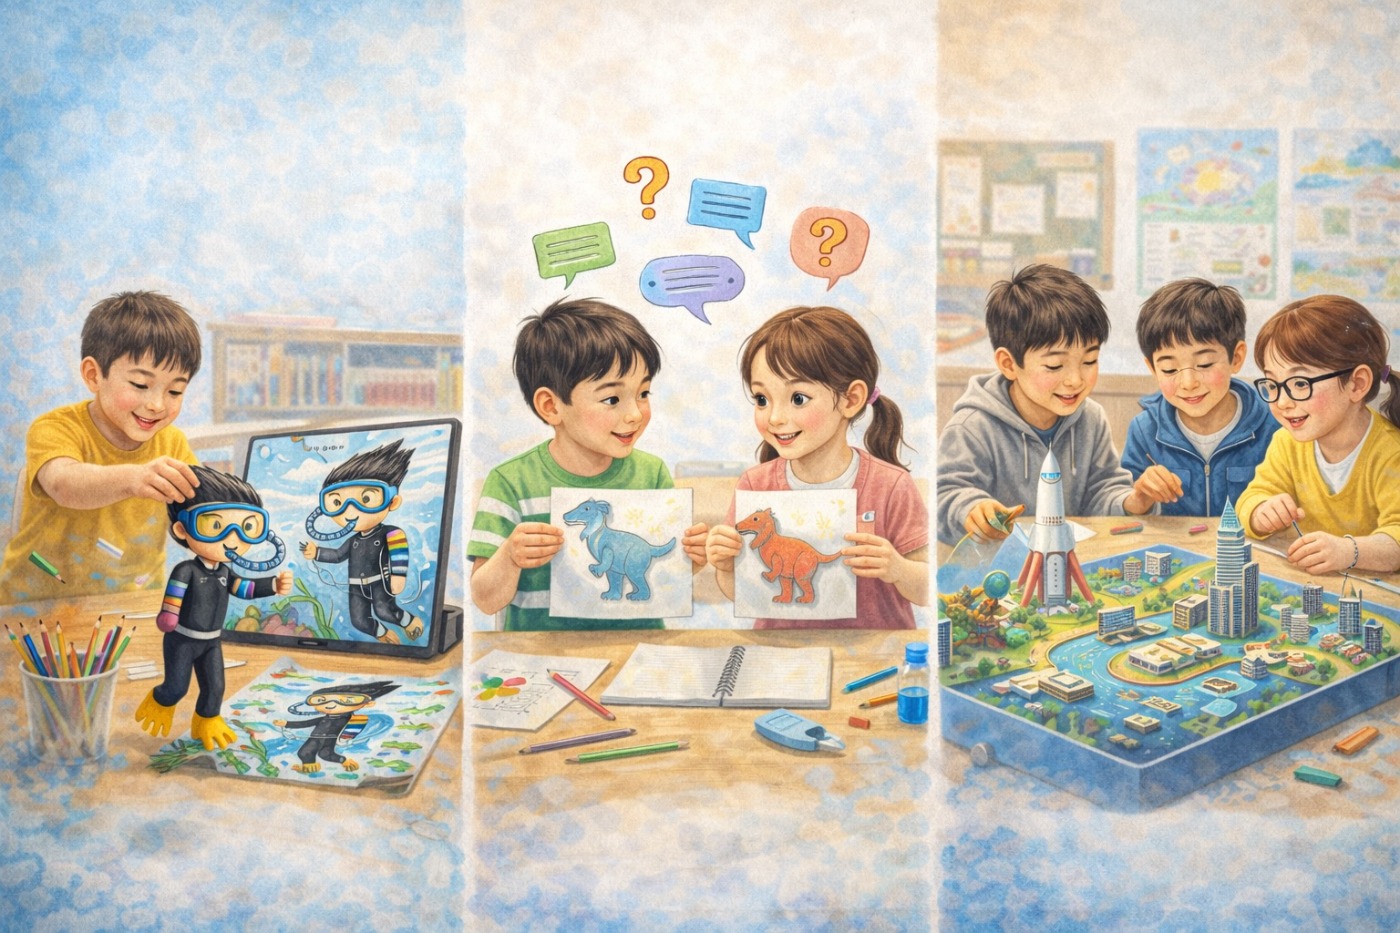
3. A creativity-expanding lesson that starts from one drawing
Every lesson starts from something simple.
👉 One drawing made by the child (or student)
It doesn’t need to be polished or “good.” What matters is that it contains
the child’s own idea.
The first expansion is a style transform. The child’s drawing stays the same—only the color, texture, and visual language changes.
Why it works
- Kids feel that “expression” isn’t just one correct answer
- Explaining their choice organizes thinking
- Comparing builds the foundation of art appreciation and critique
Classroom question prompts
- “How does it feel if we change it to watercolor?”
- “If it’s a cartoon style, does the story change?”
- “With a 3D texture, what stands out more?”
In Style Transform, pick just 2–4 styles and compare.
The goal isn’t “prettier results,” but explaining why they chose it.
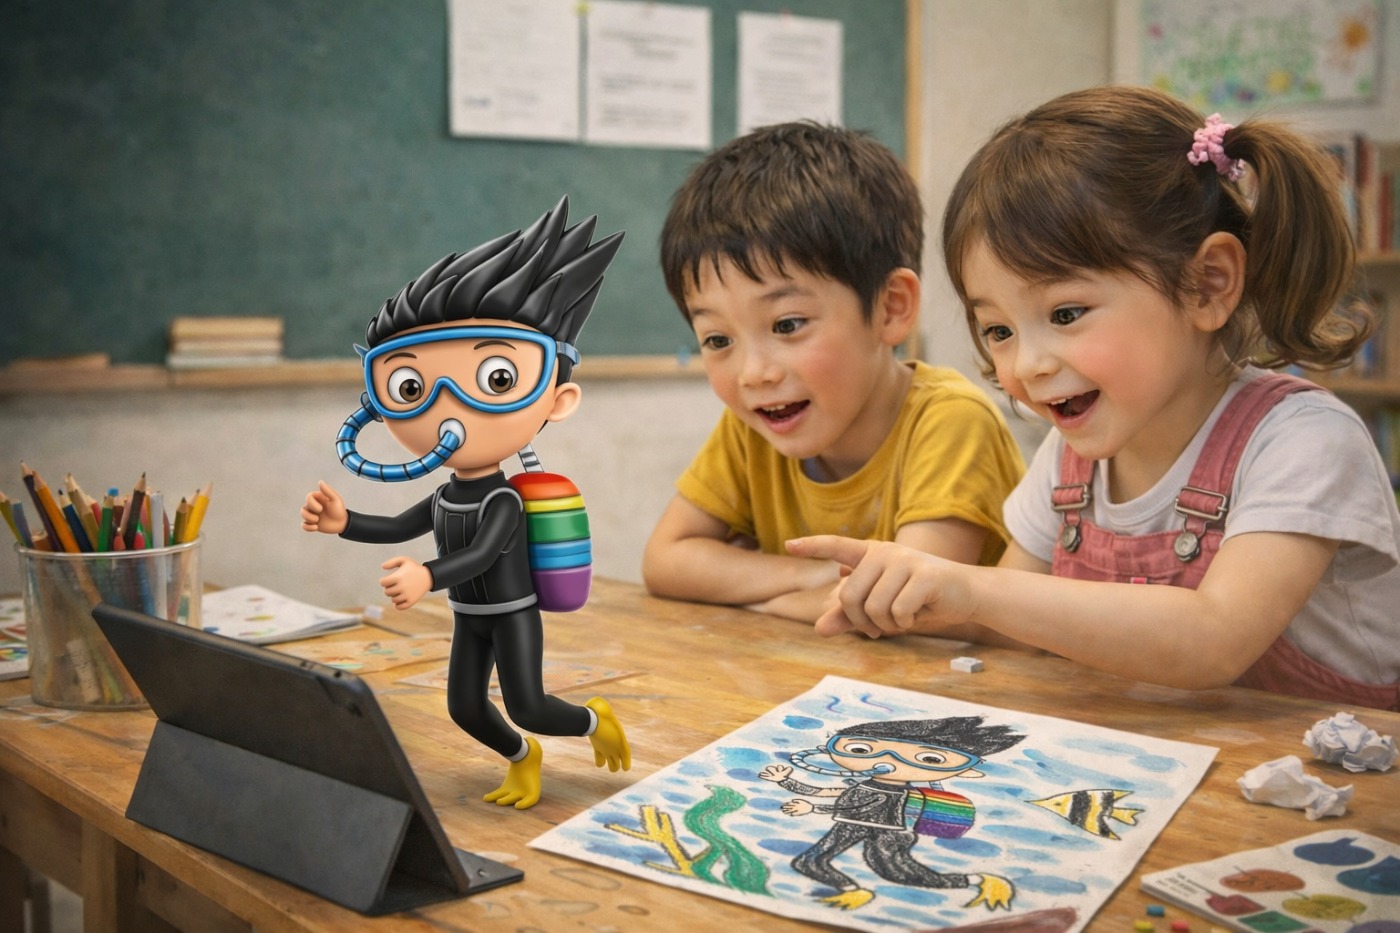
This step isn’t just “making it move.” We treat the child’s drawing as the first scene, then invite them to imagine what happens next.
Prompt-building (child-led)
- Who is in the scene?
- What’s the situation?
- What happens next?
- What’s the emotion / mood?
Story examples (for class)
- A dog and a cat meet on a narrow bridge → do they yield, push, or widen the bridge?
- An elderly person carrying bags and a child on a bike → help, or find another solution?
- One umbrella on a rainy day → who offers it to whom?
With the Video/Motion tool, use “Scene 1 = the child’s drawing,” and direct the next scene.
Instead of writing for the child, teachers can help by shaping what the child says into
short, clear sentences.
Now the drawing expands beyond the screen—into real space. Convert the child’s character or object into 3D (GLB), then place it in the world through AR.
AR lesson ideas
- Dolphin → float it over the beach (or even a bathtub)
- Dinosaur → place it in a playground/park and adjust the size
- Imaginary house → set it on a neighborhood map and explain “Why here?”
- My character → appear on a classroom desk and define its “role”
Learning points
- Scale and proportion
- Context and “what fits where”
- Form, balance, and visual weight
- Explaining decisions (why placed like that)
Convert Image → 3D (GLB), then place it instantly with AR Preview on mobile.
Ask the child to change the size / position / distance and explain their reasoning—learning depth grows fast.
A GLB file can be converted to STL and printed into a real object. Holding it, painting it, and finishing it gives children a true sense of completion.
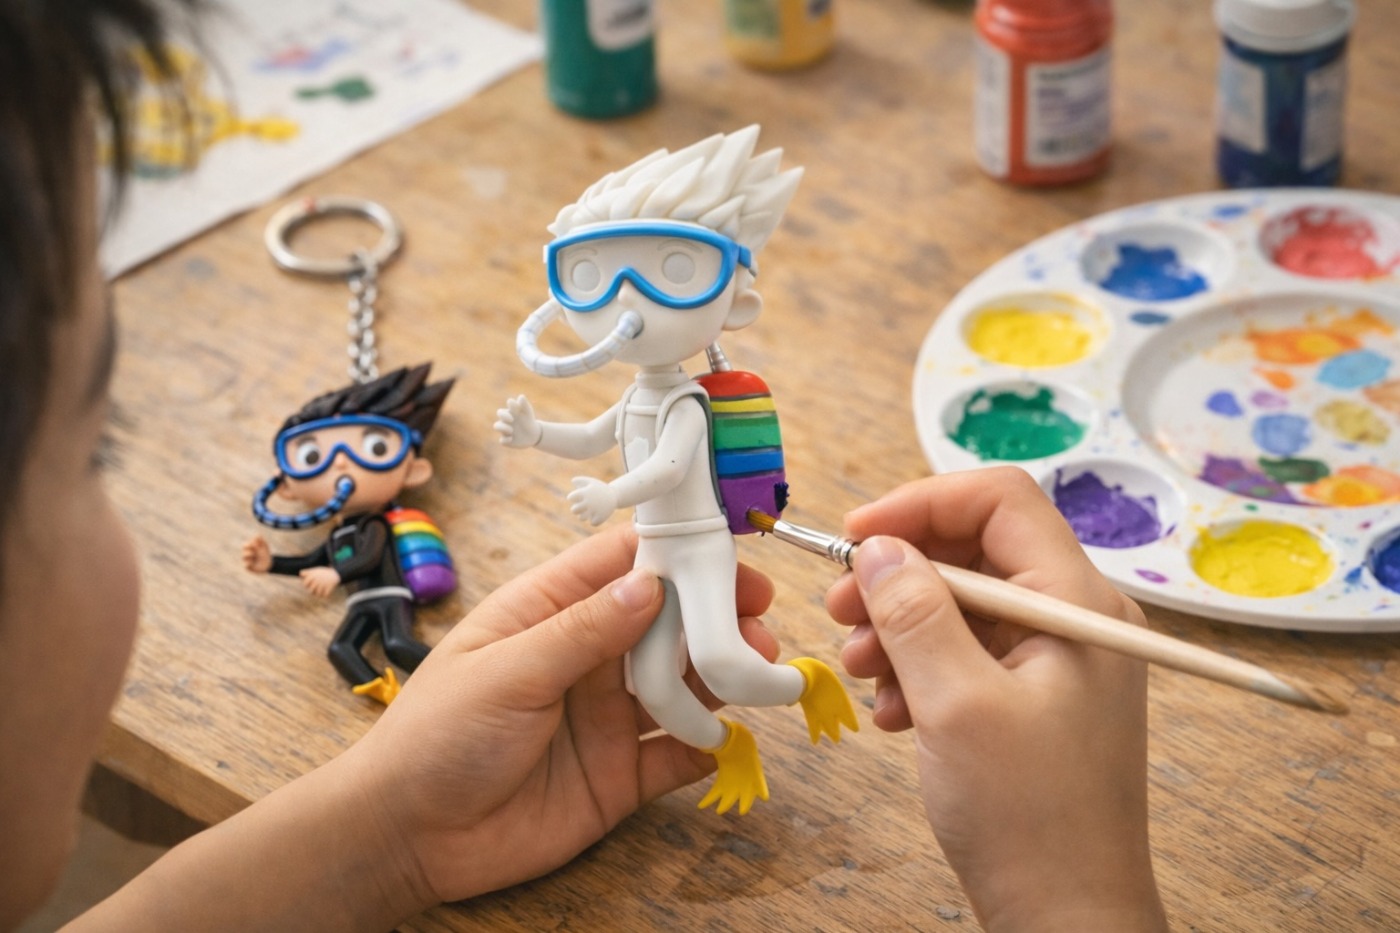
A simple classroom flow
- Convert GLB → STL
- Print small (start simple)
- Sand lightly (optional)
- Paint with acrylics
Teacher/parent focus
- Celebrate “I made this,” not hyper-detail
- Ask for the reason behind color choices
- Pick just one improvement for next time
Save GLB in 3D File Management, then continue to print-ready STL conversion when needed.
After finishing, record photo/video and compare it with the “first drawing”—reflection becomes much richer.
Combine multiple children’s 3D objects to build one shared world. It naturally grows into theme-based collaboration and discussion.
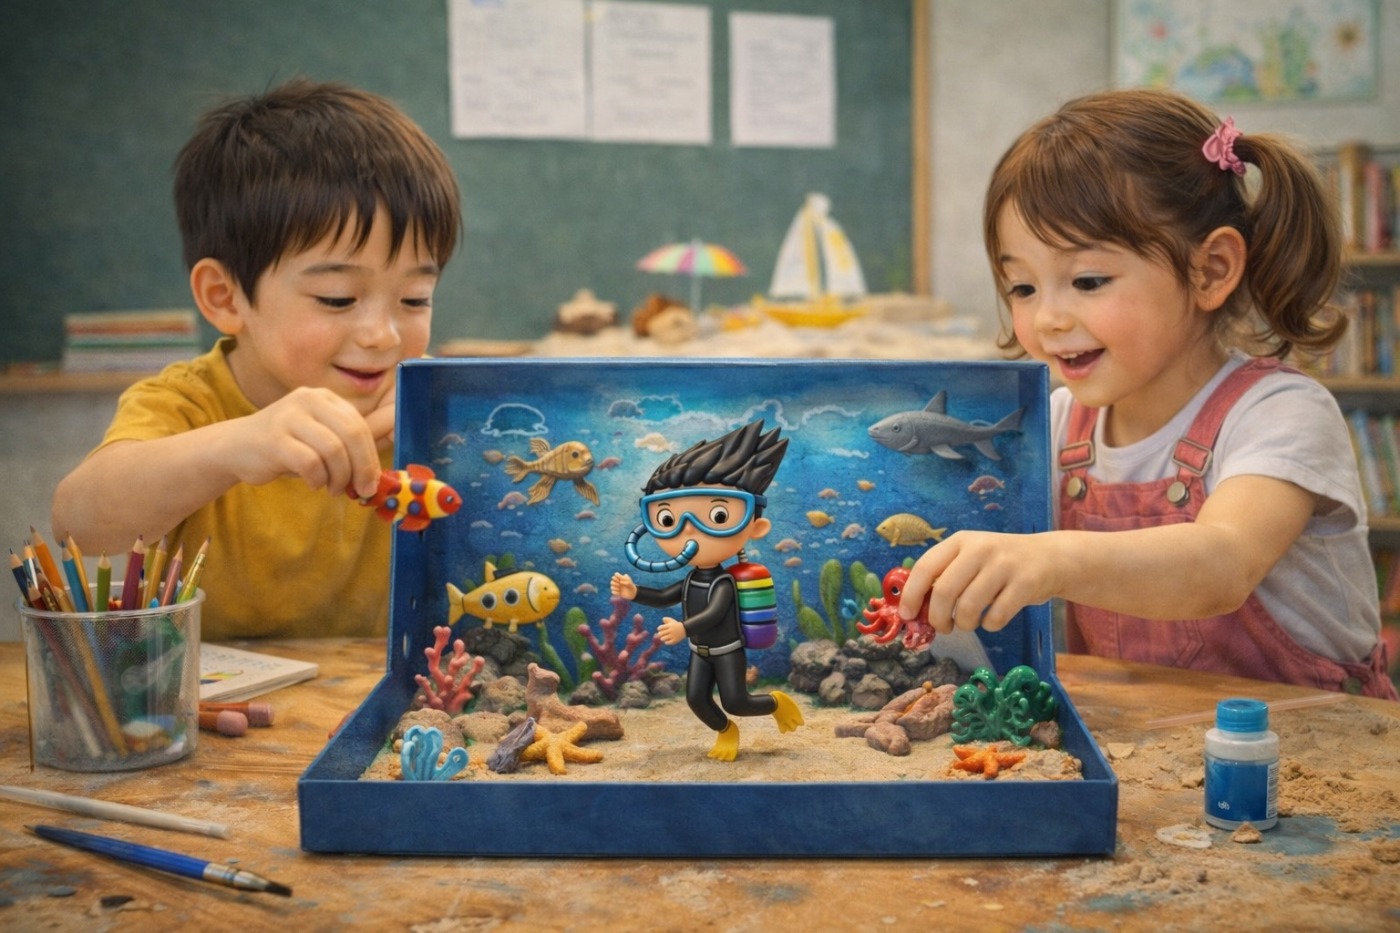
Collaboration themes
- Underwater ecosystem (coral / fish / submarine)
- Future city (transport / energy / parks)
- Animal village (habitats / food / community rules)
Discussion questions
- “Why does this object belong here?”
- “What are the rules of this world?”
- “How can we place things without overlapping?”
Collect each child’s GLB files into a shared gallery/project and organize by team. It makes diorama lessons (roles, placement, presentations) dramatically easier.
Artkery stores creations as 3D (GLB), lets you revisit them anytime in AR, and supports sharing through a gallery showcase.
Why sharing becomes learning
- Explaining organizes thinking
- Other people’s questions become seeds for the next work
- Achievement turns into lasting confidence
Practical tips
- Write 1–2 sentences to introduce the work
- Display the “first drawing” alongside the expanded result
- Share a family/classroom exhibition link
Your learning goals should change by grade
Even with the same tools, what we aim to grow looks different at each age. Below are the core directions for running Artkery lessons across lower / middle / upper elementary.
Experience & immersion
- The feeling of “My drawing came alive.”
- Keep choices simple: 2–3 options max
- Focus on “noticing · reacting · talking,” not perfection
Choice + explaining the “why”
- Put words to it: “Why did you pick that?”
- Connect before/after scenes (story thinking)
- Create moments for comparing and revising
Plan → build → refine
- Structure prompts on their own
- Consider space, context, and scale
- Collaboration, feedback, and iteration
Don’t ask, “Did AI make something impressive?”
Instead, notice what question the child formed—and what choice they made.
Closing — AI doesn’t replace creativity
AI becomes most educational when it doesn’t give answers—when it helps children
keep their questions going.
A lesson that starts from one drawing can grow into story, space, making, and collaboration.
Artkery connects this entire flow inside one studio.